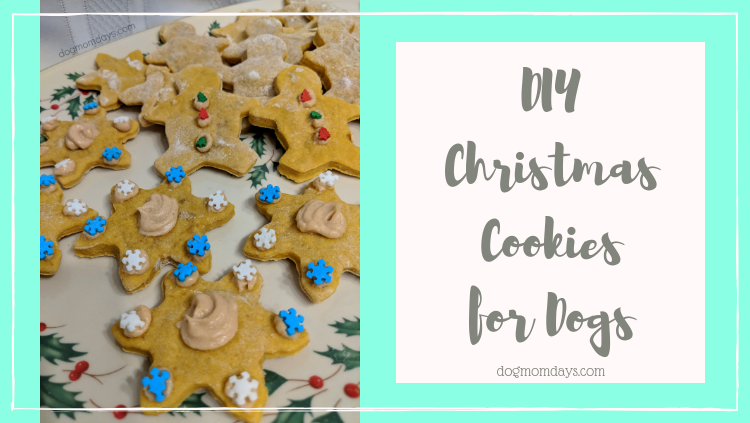
 After making these delectable DIY christmas cookies for dogs, I feel like I should be on The Great British Baking Show or something. These are the best, prettiest homemade dog treats that I’ve ever made! It’s fitting because Christmas is my favorite holiday and season, so I wanted to create something festive and healthy. The first week in December is National Cookie Cutter Week, and I took the opportunity to use gingerbread and snowflake cookie cutters to make adorable dog treats. This particular recipe for DIY Christmas cookies for dogs is simple and easy – perfect for the hustle and bustle of the season. Enjoy!
DIY Christmas Cookies for Dogs
Recipe makes about two dozen dog treats.
Ingredients:
- 2 1/2 cups flour
- 1/3 cup pure pumpkin
- 1 1/2 cup peanut butter
- 1 egg
- 1 cup water
- 1 cup plain vanilla Greek yogurt
You’ll also need:
Directions:
- Preheat oven to 350°.
- Whisk your egg, water, pumpkin and 1 cup peanut butter in a bowl.
- Once you have a nice liquid mixture, slowly pour in 2 cups of flour until a dough begins to form. Add flour if it’s too sticky, or water if it’s too crumbly.
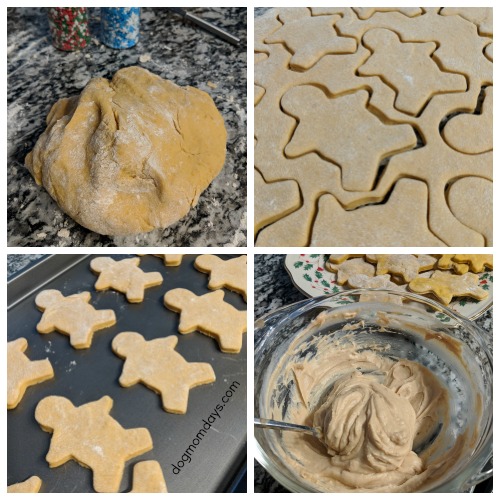
- Knead the dough until it becomes a solid consistency that you can roll out and cut.
- Pour some flour on your counter top, coat your rolling pin with flour, and roll out the dough to your desired thickness.
- Use the cookie cutters to create your shapes.
- Put the shapes on your non-stick baking sheet.
- Bake for about 15 minutes, or 10 minutes if you made them thin. You can bake for about 5 minutes more if you want your dog treats harder. (I prefer 15 minutes at a standard thickness).
- While your cookies are baking, mix together your yogurt and 1/2 cup of peanut butter in a separate bowl until it becomes a whipped mixture. Chill in the fridge until you’re ready to use it. (Ideally 15-30 minutes).
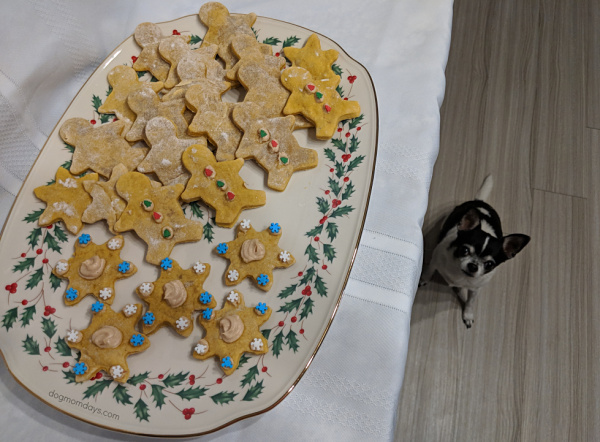
- Once you remove the DIY Christmas cookies for dogs from the oven, allow them to completely cool before decorating.
- Remove your icing mixture from the fridge and put it into an icing bag. (Or you can put it into a Ziploc bag and cut the corner to create your own icing bag!)
- Decorate the dog treats how you want, and be sure to refrigerate whatever your dog doesn’t eat immediately.
Other notes:
- I chose to leave half of my DIY Christmas Cookies for dogs un-frosted so they are easy to package as gifts, freeze and share with others!
- Treats will last in the fridge for about a week, but they can also be frozen and saved for longer.
- I used regular human sprinkles.
- You can use ingredient substitutions such as wheat flour, coconut oil and oats.
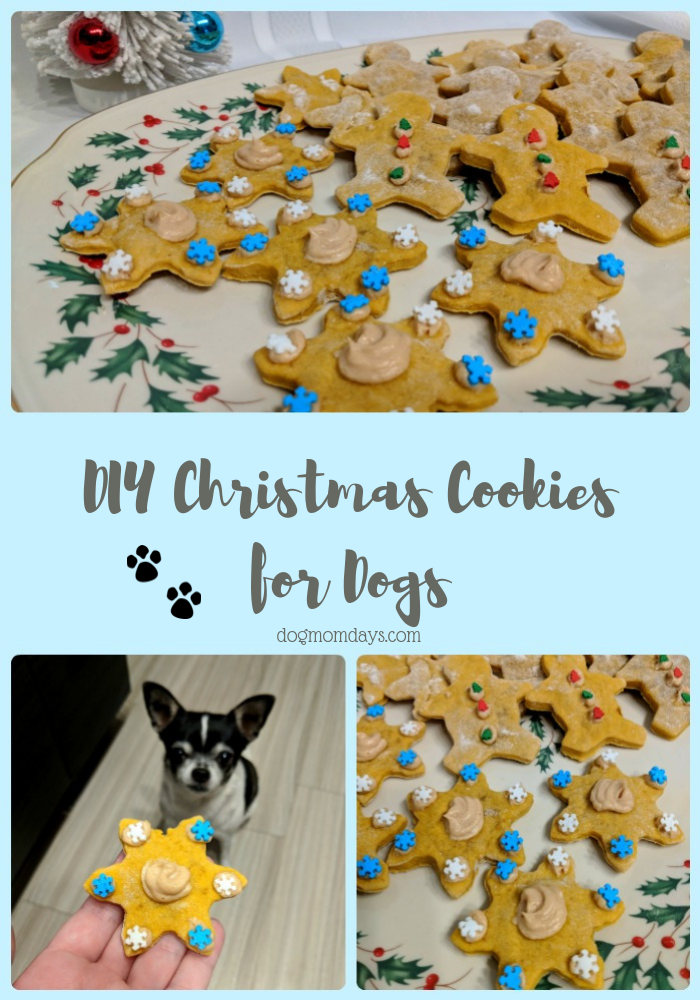
I hope you enjoy this DIY Christmas cookies for dogs recipe! For more homemade dog treat recipes, see my page here!
Happy baking!
*Affiliate links are present in this post*

Very cute cookies! Happy holidays!
Thank you, my friend!
I made these and my pup loved them. Your cookie shapes are adorable. I just made mine round and I’ll make them again in Christmas shapes closer to the time. Thanks for such a fun recipe for my pup.
I’m so glad! Thank you!